Basic Home Mechanics Tool Kit
Damon Blackband
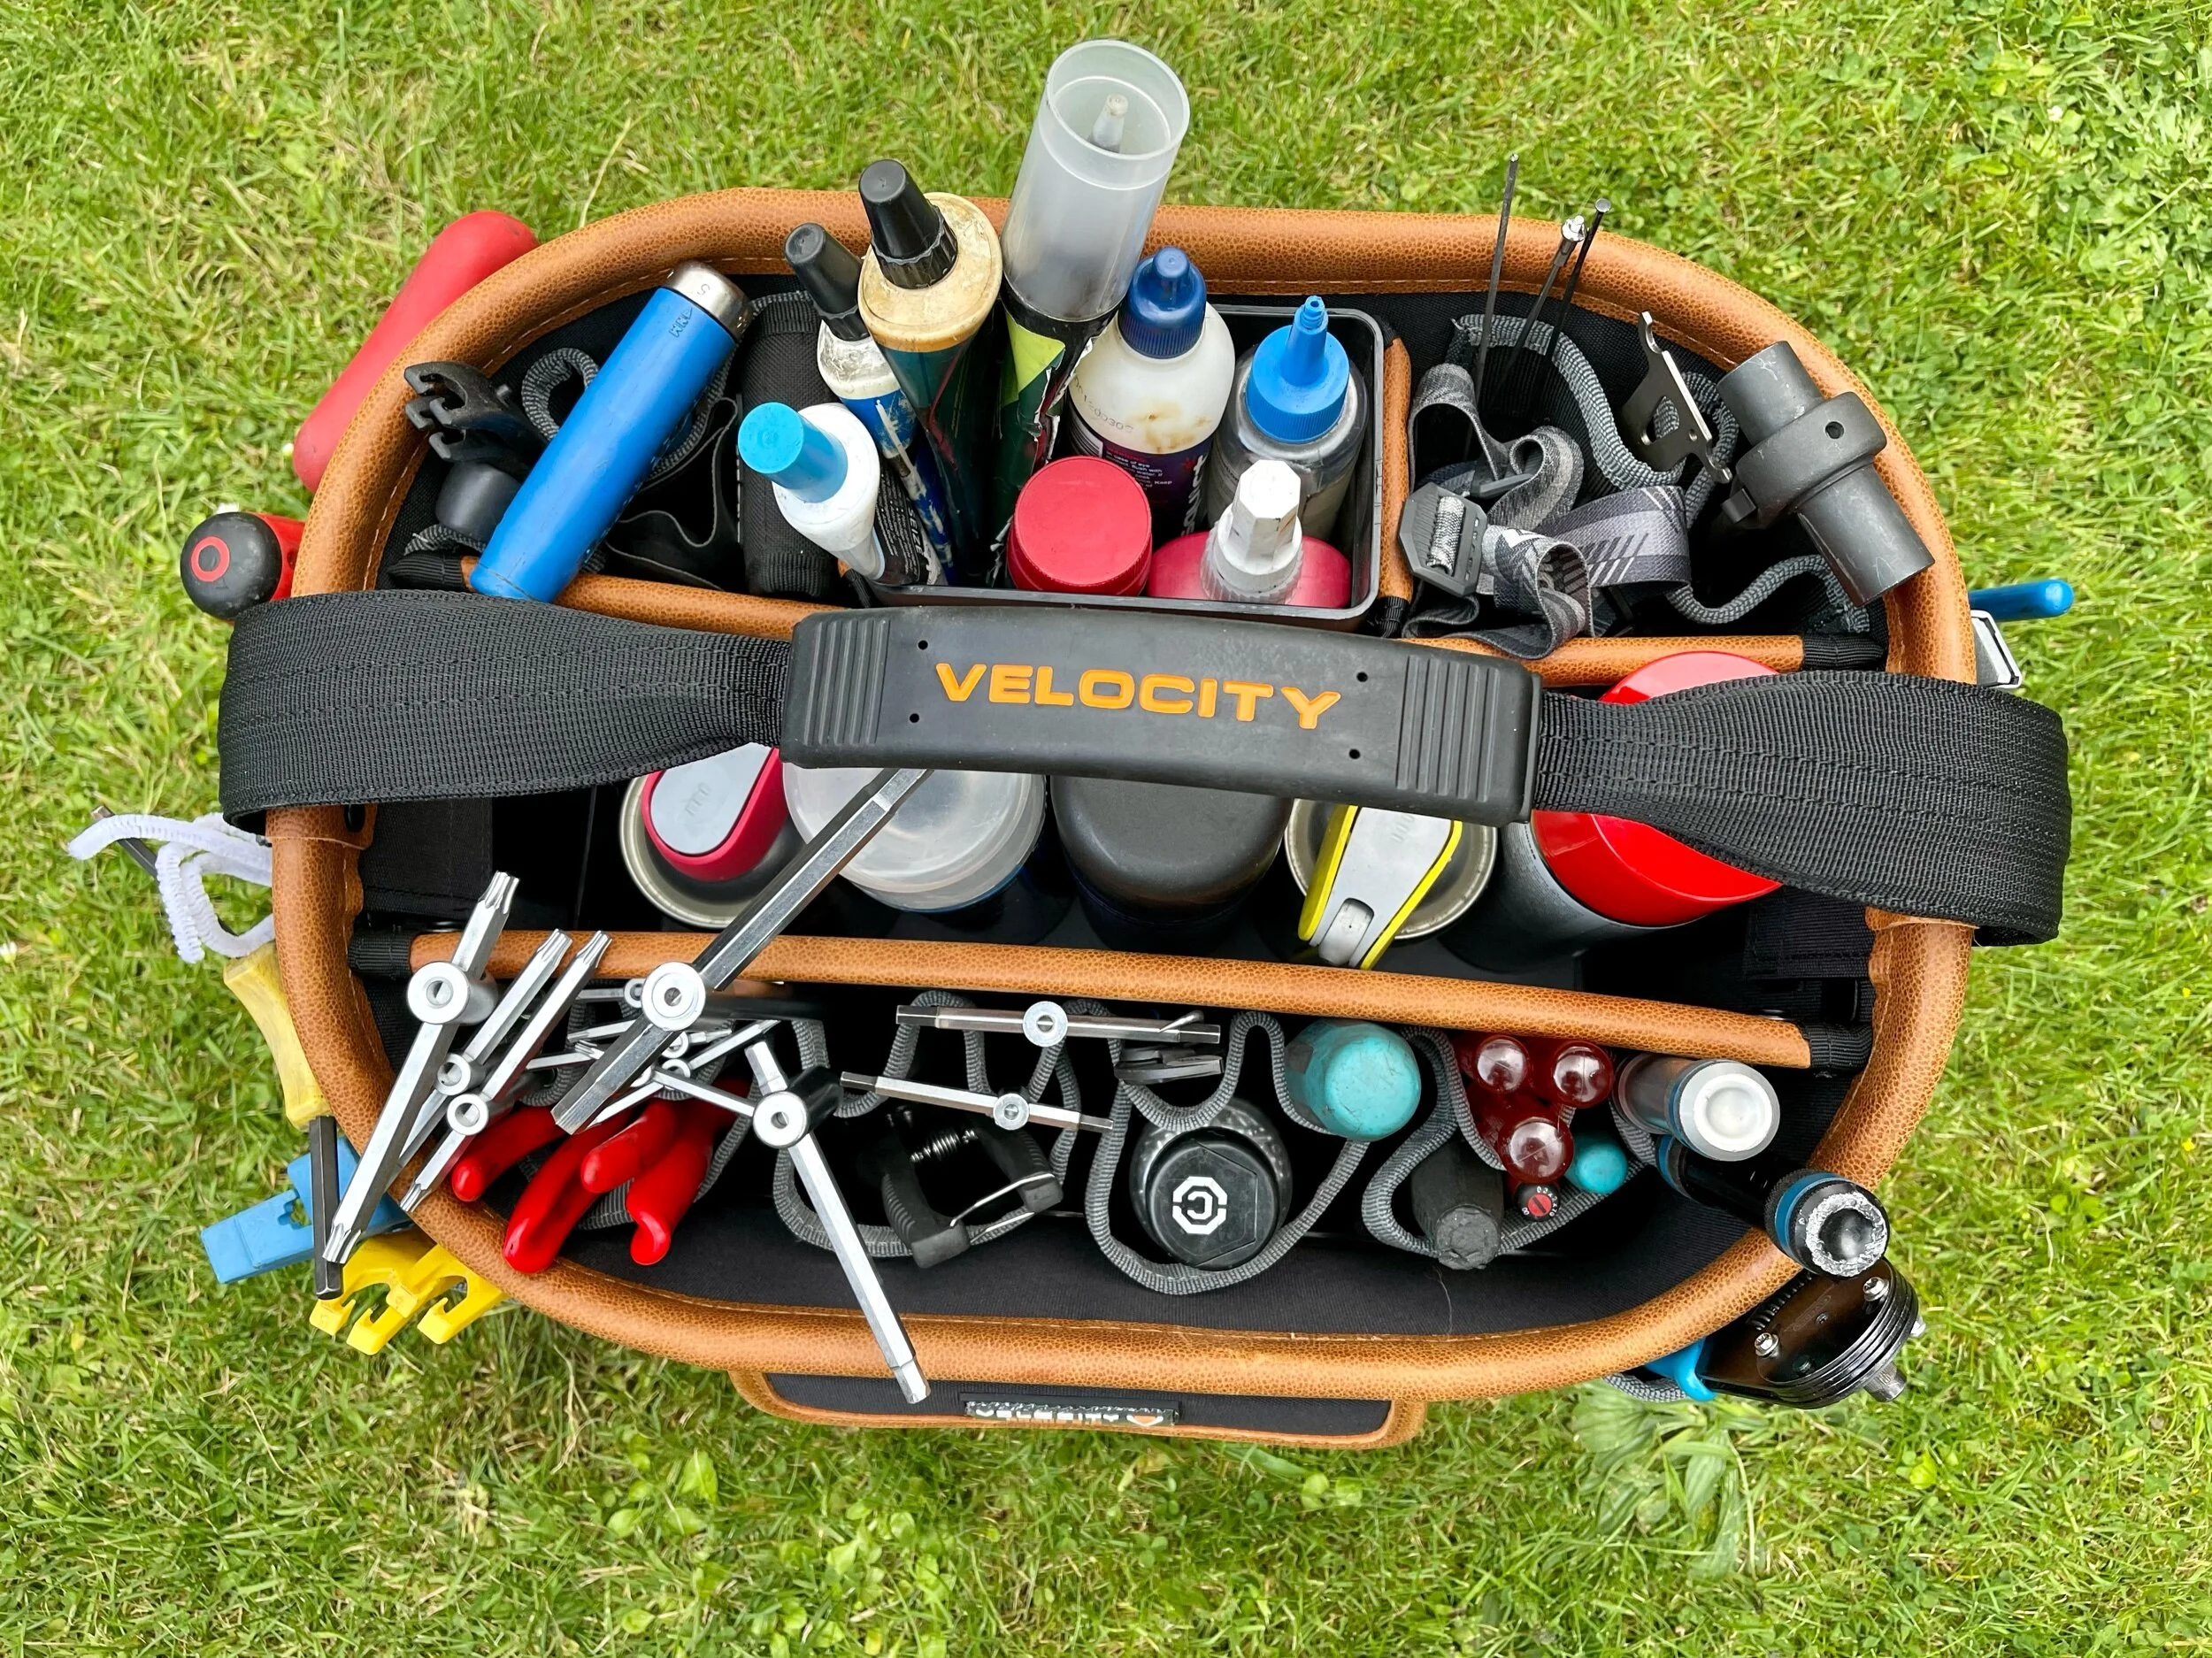
Basic Tools
I have listed an ideal basic tool set-up which will allow you to undertake all of the basic bike repairs and servicing covered in the Pedal Lincolnshire basic & advanced certificate courses. Whilst these listed tools aren’t always the most expensive or coveted options, they are all high-end brilliant examples of professional level tools that will grace any mechanics workbench and last many years of heavy use.
Allen Keys – Buy the very best you can afford, or you will end up damaging expensive fasteners and fittings. Both hex and torx sets
Example: Silca HX-TWO Travel Kit
Hex wrenches: 1.5, 2, 2.5, 3, 4, 5, 6, 8, 10mm
Torx® wrenches: T7, T8, T9, T10, T15, T20, T25, T27, T30

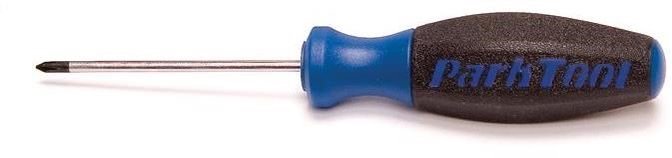
Screwdrivers – 4 Basic screwdrivers are the backbone of any bicycle toolkit (2 x slotted and 2 x cross head, although the large crosshead should really be a JIS (Japanese Industry Standard) Cross head which is slightly different to a normal phillips cross head and works better on many Asian components)
Phillips #0 & #2
Flat blade 3mm & 6mm
Examples:
Vessel Megadora 900 P2 X 100 (JIS for derailleur adjustment)

Park Tools Flat Head 6mm & 3mm

Park Tools cross head #0
Cable Cutters – One of the most used items in a mechanics tool box and one tool that needs to remain sharp and accurate and of very high quality
Example: Felco C7 wire cutters – The best of the best

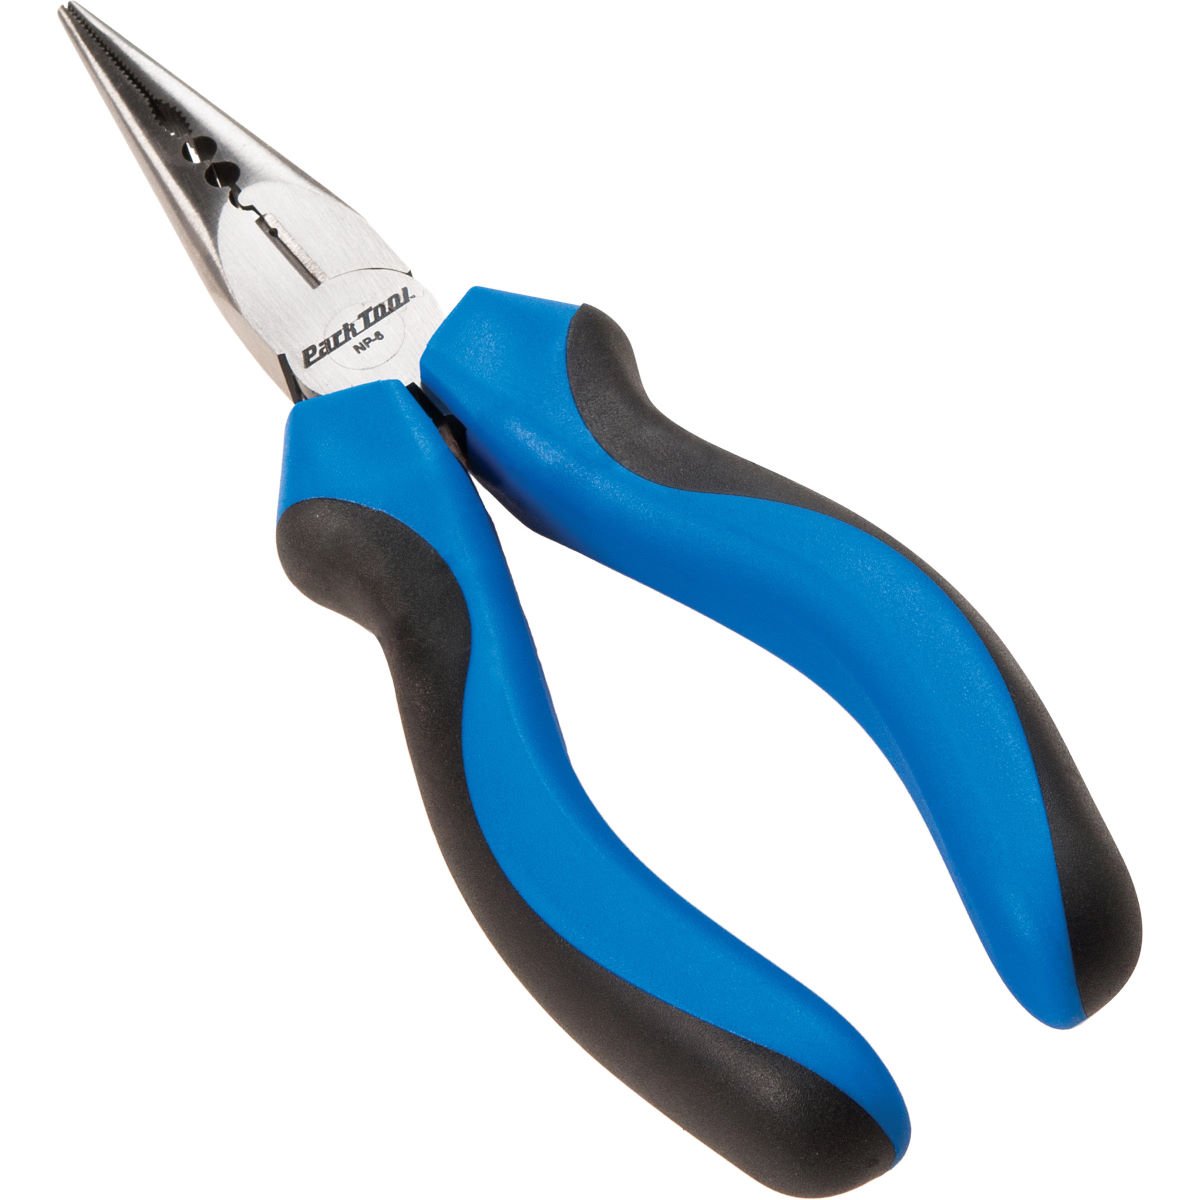
Needle nosed pliers – Ideally a pair of both traditional and needle nosed but for most jobs needle nosed are preferable
Example: Park Tools NP-6 Needle Nosed Pliers
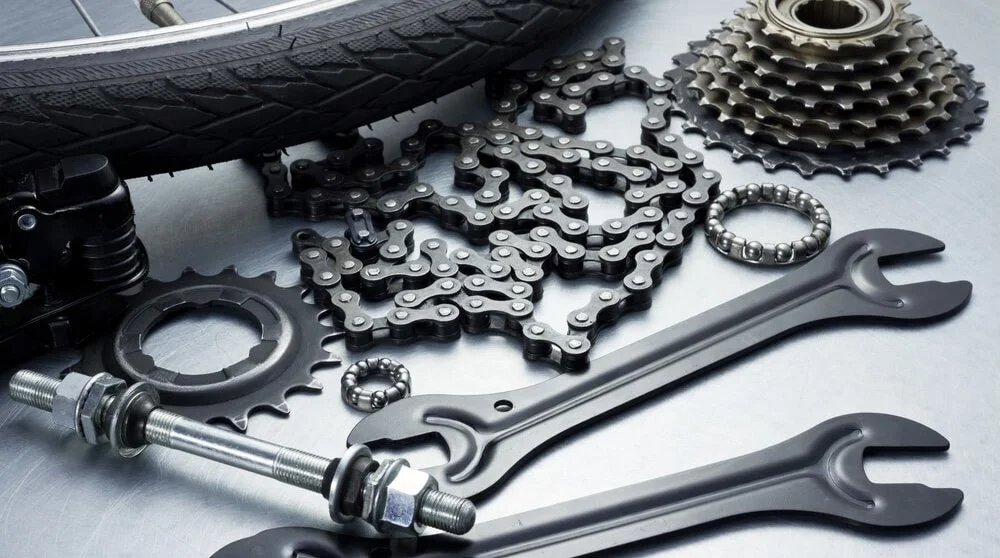
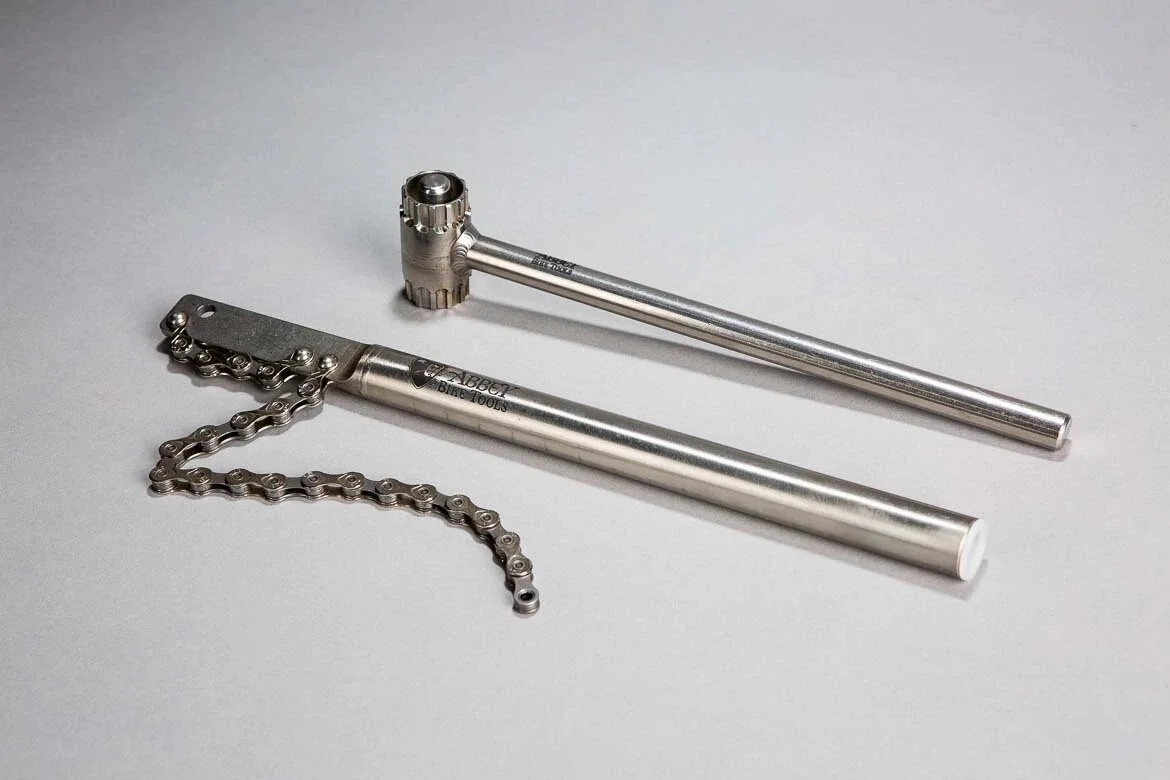
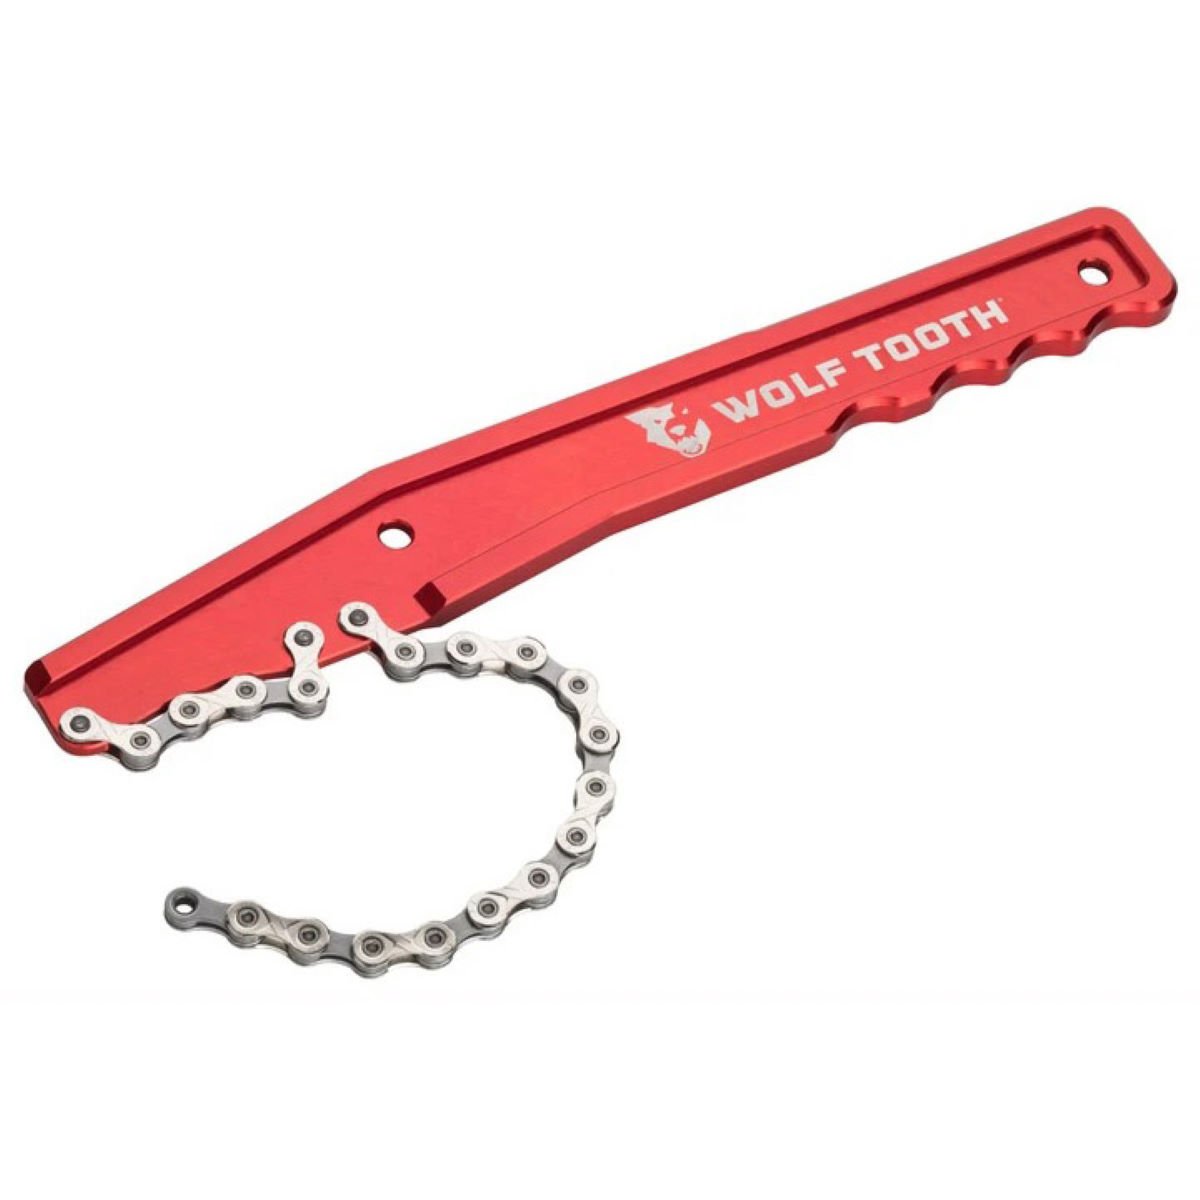
Chain whip – To enable cassette removal for replacement and cleaning
Example: Wolf Tooth ultralight Chain Whip Removal Tool
Cassette Removal Tool – Many variants out there for both Shimano/Sram and Campagnolo cassettes, Abbey Tools make a ‘dual headed Crombie Tool’ for both but its expensive!
Example: Park Tool FR-5.2 (Shimano/Sram)

Chain Tool Splitter – A high quality chain tool in the range of 5-12 speed is ideal and with replaceable pins even better
Example: Park Tool CT-3.3 - Professional Chain Tool

Pedal Wrench – Long and strong with plenty of leverage and good grip
Example: Lezyne Classic Pedal Spanner

Chain Link Pliers – To undo and fasten chain quick link connectors
Example: Super B TB-3323 Connecting Link Plier

Tyre Levers – Strong and precise with locking ability are the best, never use steel ones
Example: - Pedros Tyre Lever Pair (the best)

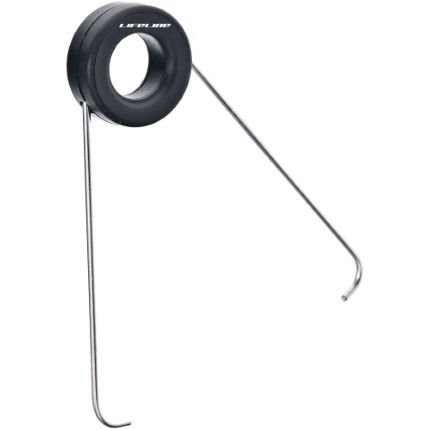
Chain Link Holder – A little gadget for helping join chain links (predominantly Campagnolo and older style chain connectors)
Example: Lifeline Chain Connector Aid
Cable Crimping Tool – To securely and neatly finish off those cable ends to stop them fraying
Example: Elvedes Endcap Crimping Tool

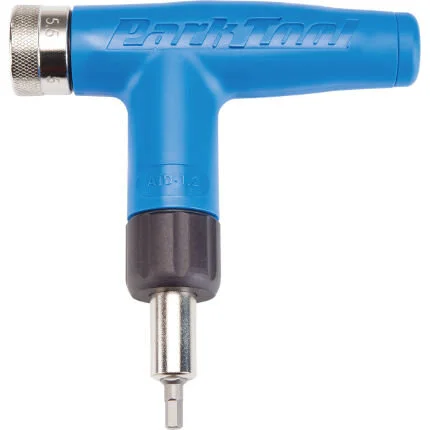
3-Way Hex wrench – Whilst not essential it is one of the most used items in any professional mechanics tool kit 4/5/6mm heads
Example: Pedros Y Hex 4/5/6mm key

Small Hex Drivers – 3 X small hex drivers for gear adjustments, Garmin mounts etc (highly useful and time saving)
Example: PB Swiss Tools PB 8205 Series SwissGrip Screwdriver Hex 2/2.5/3mm sizes

Chain Checking Tool – Essential for checking on chain wear and preventing further drivetrain damage
Example: Park Tools CC 3.2

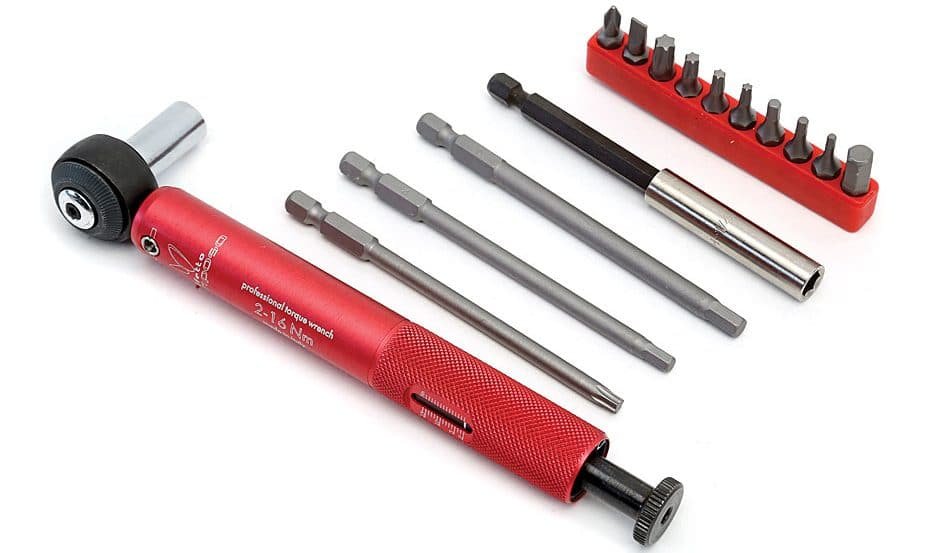
Torque Wrench – Essential for adjusting delicate carbon interfaces and fittings (2-16 range for most jobs and larger one for bigger jobs – Bottom Brackets etc)
Example: Effetto Mariposa Giustaforza II 2-16 torque wrench
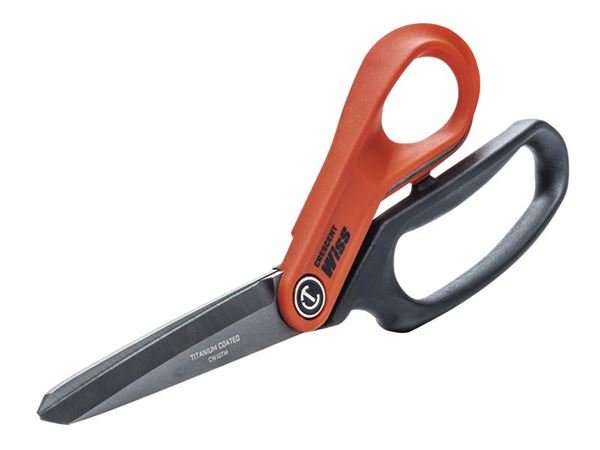
Scissors – Essential for cutting bar tape and cable ties etc, buy a good strong long lasting pair
Example: Crescent Wiss Heavy-Duty Tradesman Shears 254mm (10in)
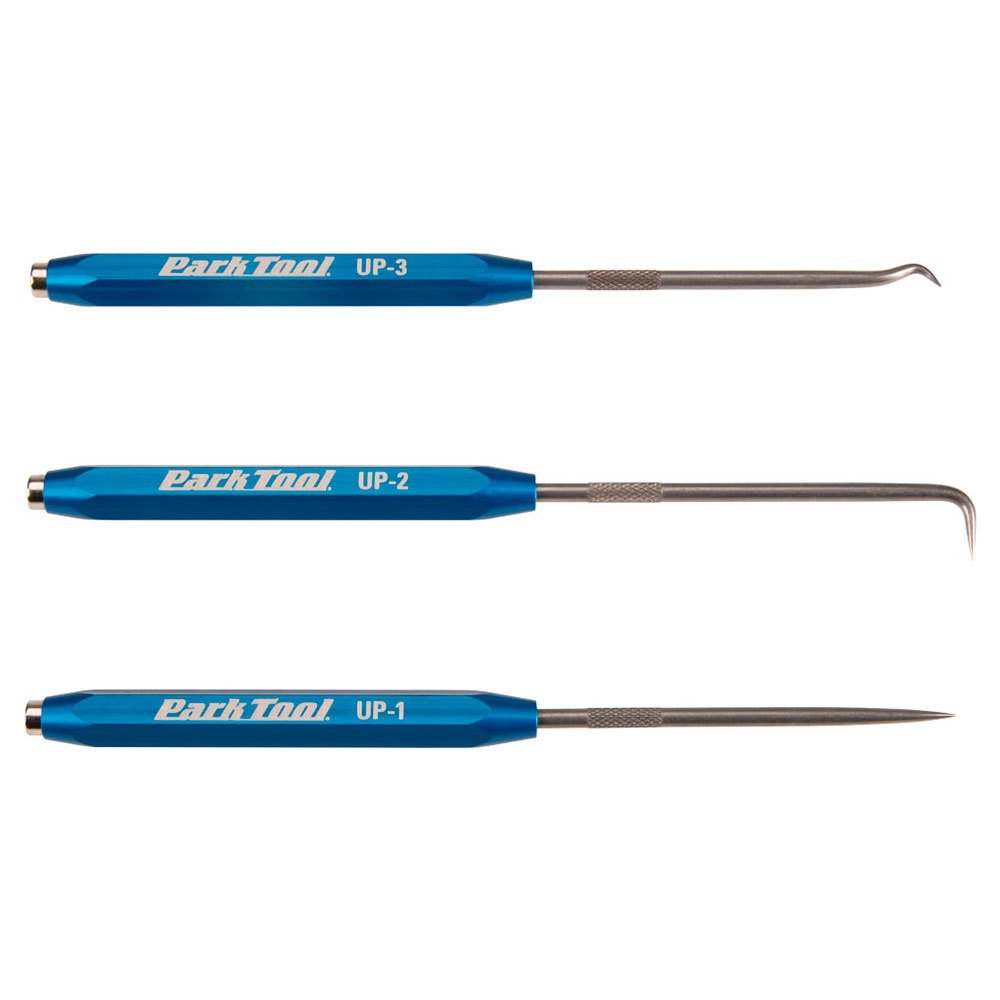
Picks and Prodders – Essential for retrieving internal cables and opening up cable outers etc (beware of magnetic ends on some so you don’t drag and drop tools onto expensive paint jobs!)
Example: Park Tools UPSET Utility Pick Set
Lubricants, assembly pastes, anti-seize and chain lube – The 4 main staples of any mechanics bench. Almost every threaded item needs either assembly paste or anti-seize and all bearings and chains need lubricant to perform efficiently.
Examples:
Park Tools PPL-1 Polylube 1000 lubricant for bearings and headsets

Park Tools ASC-1 Anti- Seize Compound for Bottom Brackets and pedal threads etc

Park Tools SAC-2 Supergrip Carbon and Alloy Assembly Compound for handlebars stems and many other fittings

Chain Lube – An essential to keep your drivetrain running smooth and quiet and for the longevity of the moving parts. Wet and Dry and All-Weather, bewildering choice that depends on your riding styles
Example: Smoove Universal Chain Lube (Along with ‘Squirt’ offers fantastic protection and with minimum mess and collection of road crud etc)